This article may contain affiliate links. If you buy through them we may earn a commission at no extra cost to you.
A doorway bar ($30–80) is the right starting point for most people—zero tools, two minutes to install, and honest feedback on whether pull ups will stick in your routine. Wall-mounted bars ($100–300) are the upgrade once you’re doing 10+ reps and want to add a weight vest. Power towers ($150–300) trade floor space for a multi-exercise station. Ceiling mounts ($80–180) are the most stable option but require permanent drilling into joists.
Types of Home Pull Up Bars
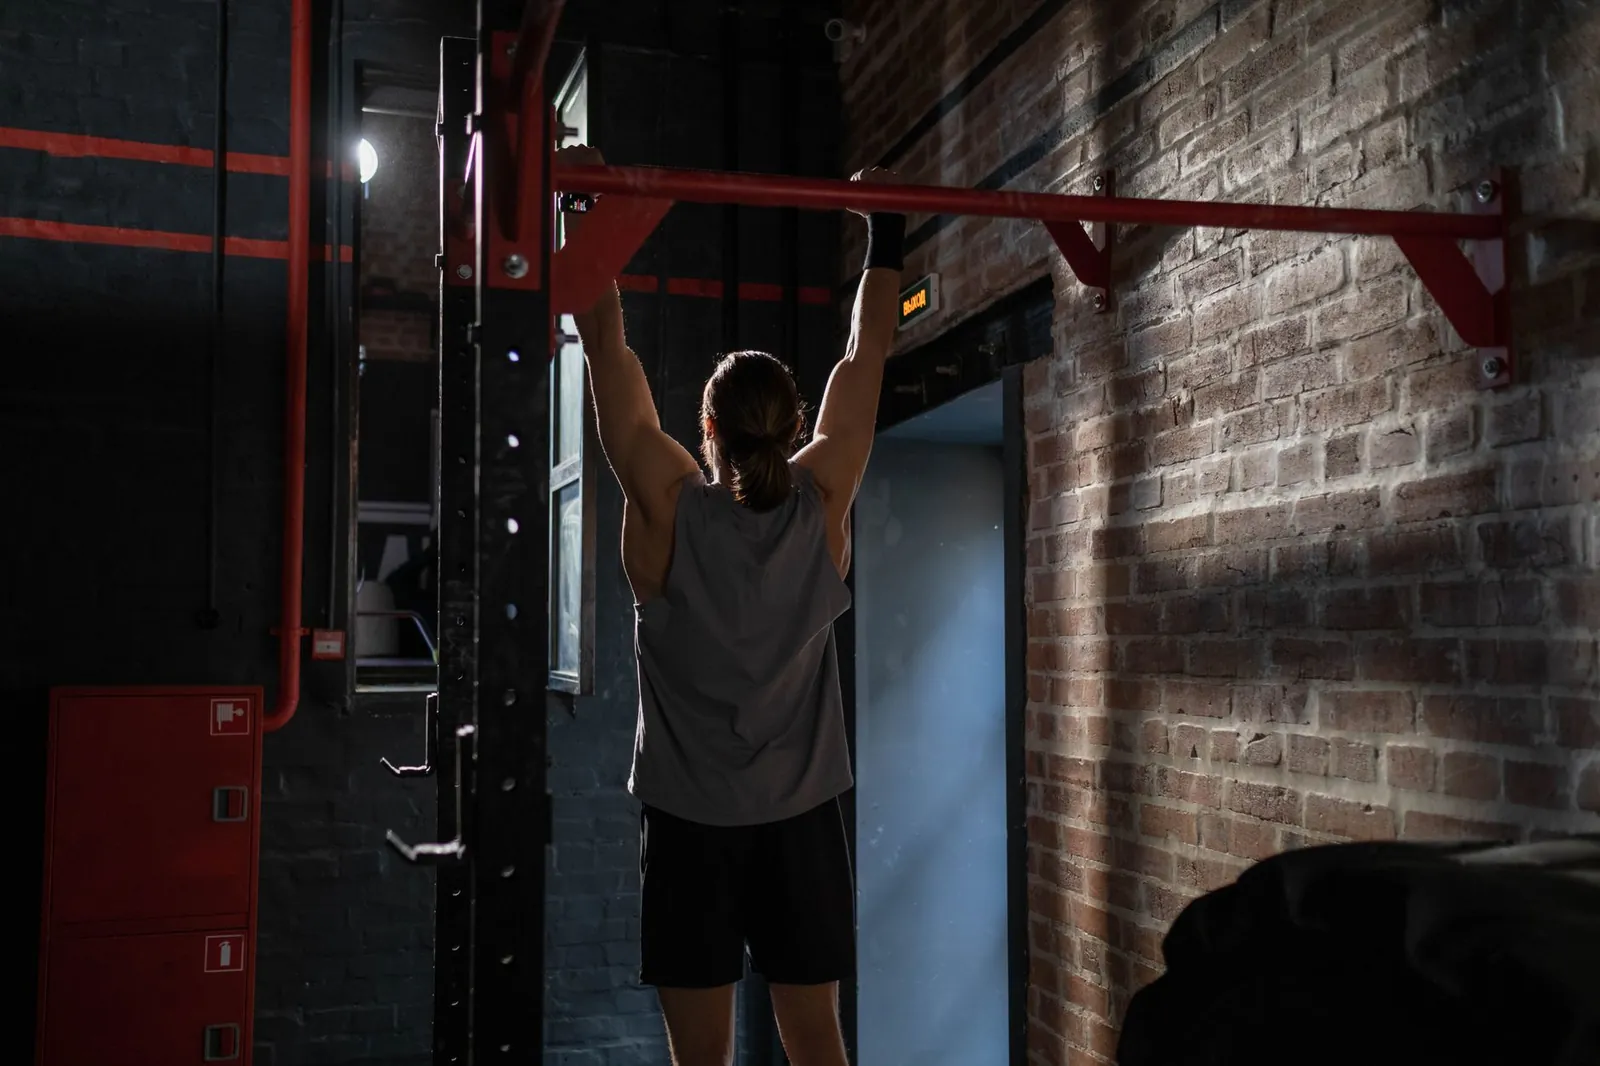
Doorway Pull Up Bars
These sit on your door frame—no drilling, no permanent damage. Setup takes two minutes. Most models support 250–300 lbs and fit frames 24–32 inches wide. The real trade-off: they’re noticeably less stable than bolted options, and some users report frame creaking after 50+ sets per week at higher body weights.
Best for renters, small apartments, and anyone testing whether pull ups will become a habit before spending more.
Wall-Mounted Pull Up Bars
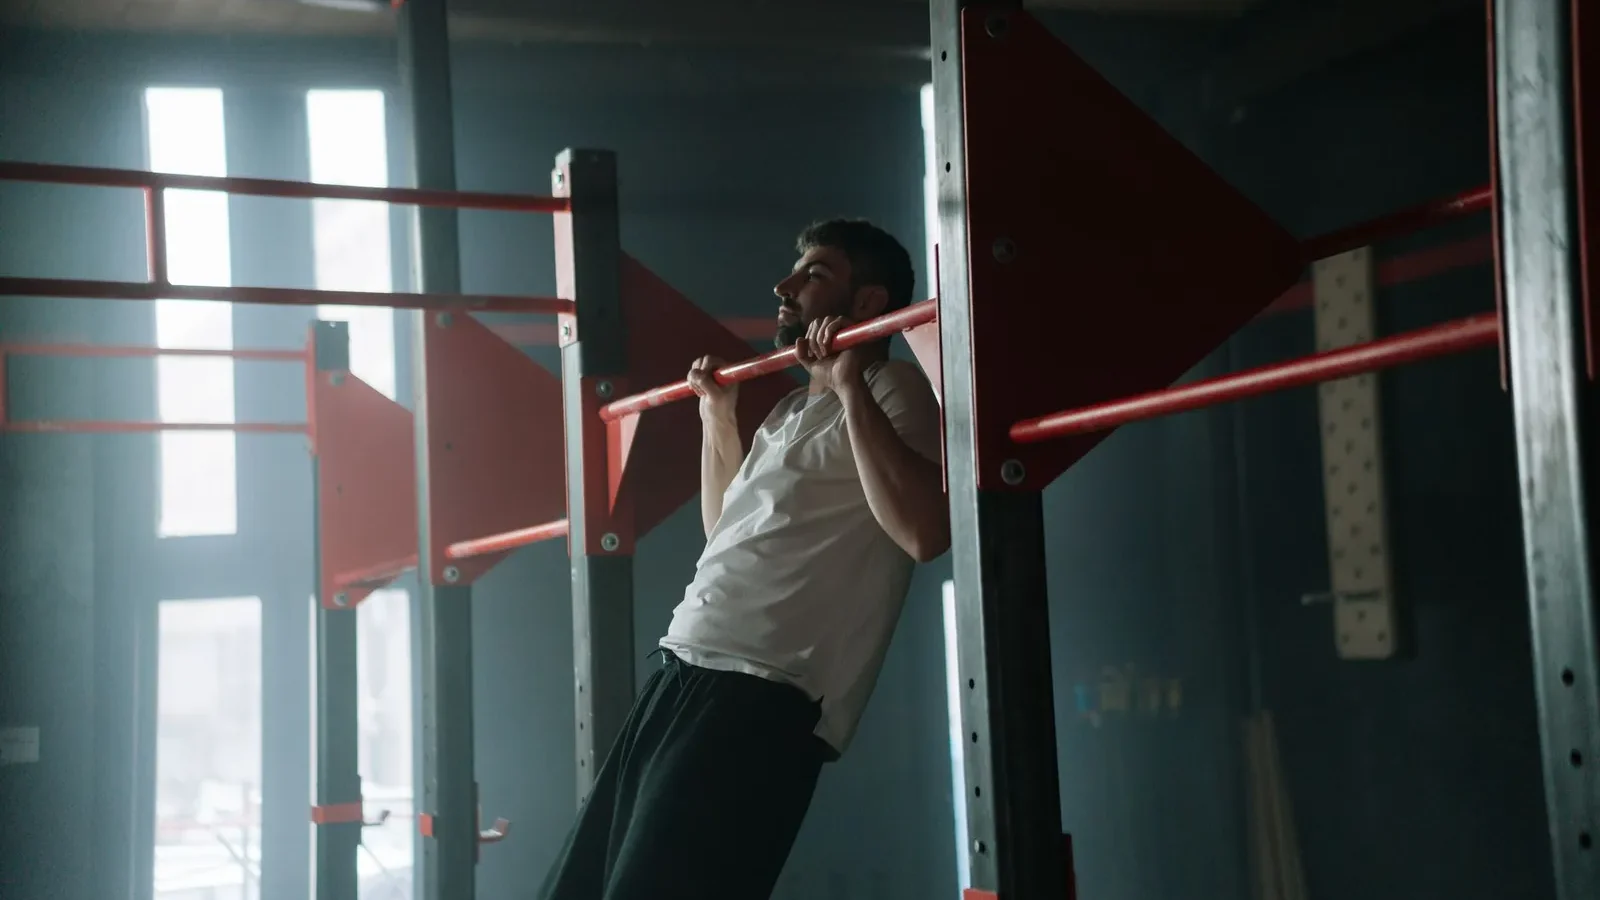
Bolt directly into studs or heavy-duty anchors. Rated for 300–500 lbs depending on model. Installation takes 30–45 minutes with a drill, stud finder, and level. Once mounted, they don’t move—and they don’t rattle during explosive reps.
Best for anyone doing 20+ pull ups per session, adding a weight vest, or building a permanent home gym.
Power Towers
Freestanding frames that combine a pull up bar, dip station, and leg raise handles. No drilling—just assemble and place. Capacity runs 250–350 lbs. They occupy a 4×2-foot footprint, which sounds small until you’re mid-rep and your elbows clip the frame.
Best for home gyms where you want pull ups, dips, and leg raises without three separate pieces of equipment.
Ceiling-Mounted Bars
Attach directly to ceiling joists. Extremely stable, rated 300–400 lbs, and they free up wall space entirely. Installation is permanent—plan on 45–60 minutes and a willingness to leave holes in the ceiling if you ever move.
Best for garages, basements, and dedicated workout rooms where you’re staying long-term.
Installation Requirements by Type
Doorway Bars
- Tools needed: none
- Time: 2–3 minutes
- Damage to home: zero
- Reversible: yes
Wall-Mounted Bars
- Tools needed: drill, stud finder, level, wrench
- Time: 30–45 minutes
- Damage to home: 4 small holes in studs
- Reversible: yes, with spackle
- Critical step: locate studs 16 inches apart and confirm they’re solid wood or metal, not just drywall
Power Towers
- Tools needed: none
- Time: 5–10 minutes (assembly)
- Damage to home: none
- Reversible: yes
- Floor requirement: level, hard surface—concrete or wood, not carpet
Ceiling-Mounted Bars
- Tools needed: drill, stud finder, level, wrench
- Time: 45–60 minutes
- Damage to home: permanent
- Reversible: no
- Critical step: locate ceiling joists (typically 16 or 24 inches apart) and mount into solid wood only—never drywall alone
A doorway bar costs $50 and tests your commitment; a wall mount costs $200 and commits you to the space.
Comparison Table: Pull Up Bar Types at a Glance
| Model Type | Price Range | Weight Capacity | Installation | Space Required | Best For |
|---|---|---|---|---|---|
| Doorway bar (standard) | $30–80 | 250–300 lbs | 0 tools, 2 min | Door frame only | Renters, beginners |
| Wall-mounted (standard) | $100–200 | 300–400 lbs | Drill, stud finder, 30 min | 12 inches wall space | Permanent setup, intermediate+ |
| Heavy-duty wall mount | $200–350 | 500 lbs | Drill, stud finder, 45 min | 12 inches wall space | Advanced lifters, weight vests |
| Power tower | $150–300 | 250–350 lbs | None, 10 min assembly | 4×2 feet floor | Multi-exercise, space-limited |
| Ceiling-mounted bar | $80–180 | 300–400 lbs | Drill, 45–60 min | Vertical clearance only | Garages, basements, permanent |
How to Choose the Right Bar for Your Space
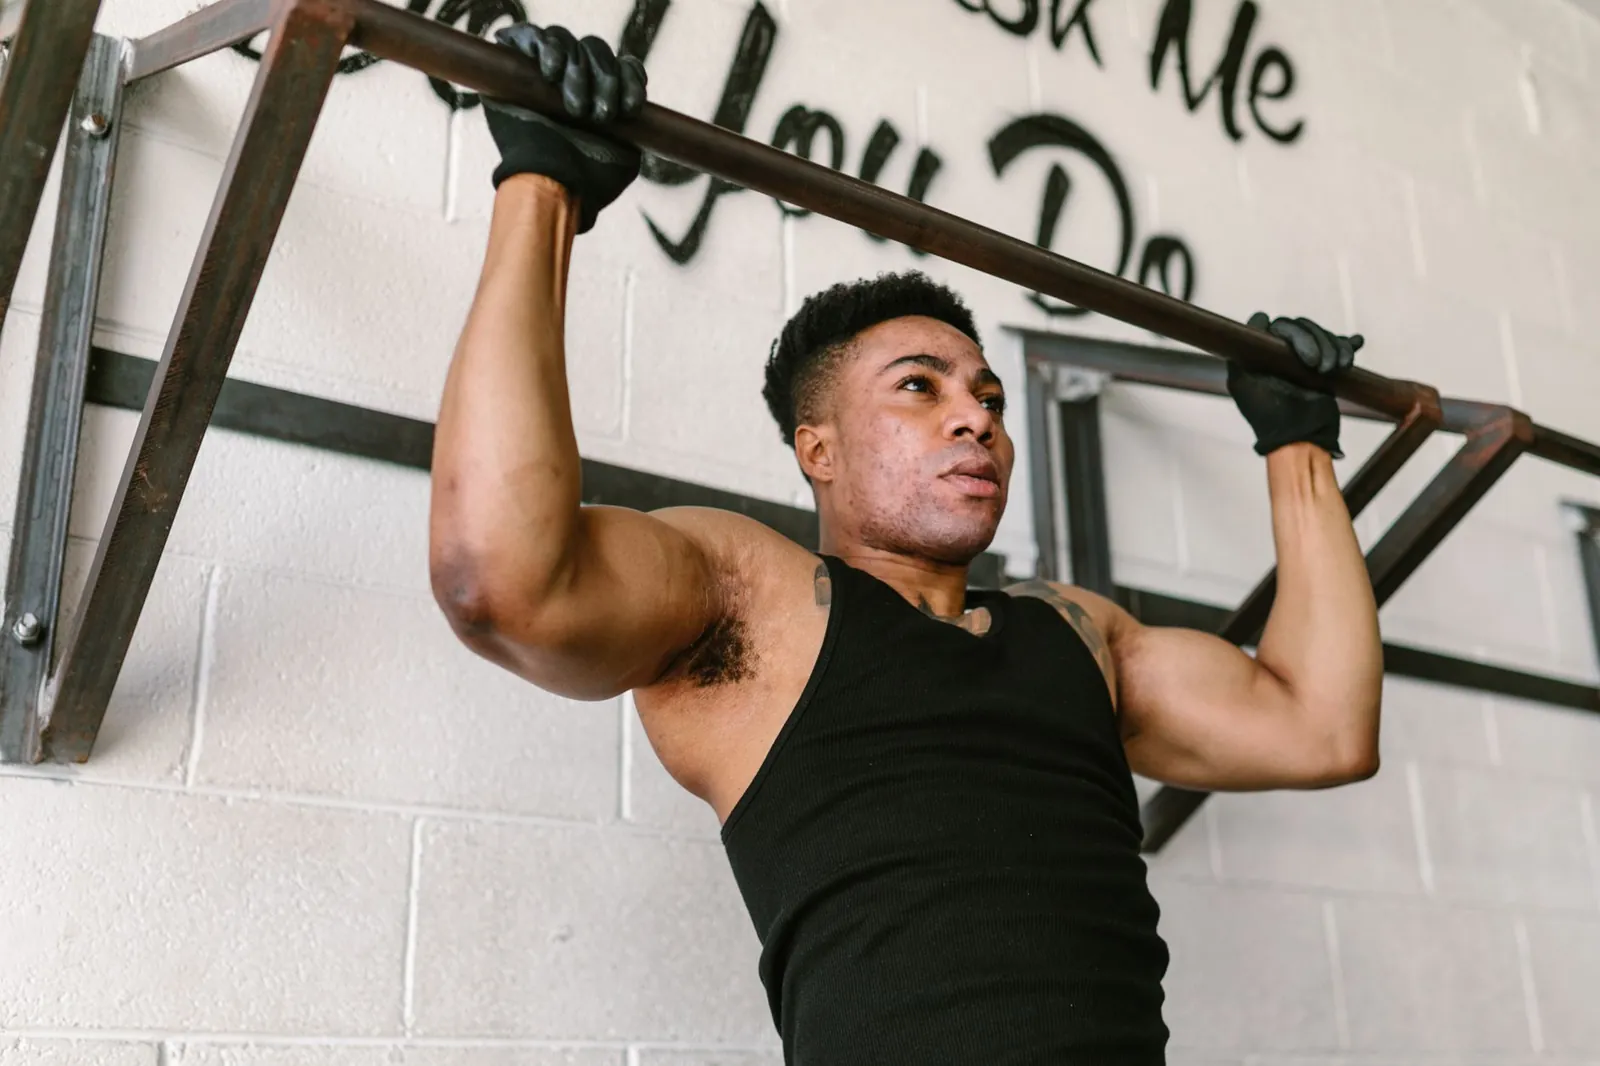
Measure Your Door Frame First
Doorway bars fit frames 24–32 inches wide. Measure the interior width before ordering. Outside that range, skip doorway options entirely and go straight to wall-mounted or a power tower.
Find Your Studs Before You Buy a Wall Mount
You need solid wood or metal studs at least 1.5 inches thick. A stud finder costs $15–40. Tap the wall—solid studs sound dense, hollow drywall sounds like a drum. Standard stud spacing is 16 inches. If you can’t locate two studs within the bar’s mounting width, wall mounting isn’t a safe option in that location.
Check Ceiling Height
You need at least 7 feet 6 inches of clear vertical space to hang and complete a full rep without hitting your head. At 6 feet tall with an 8-foot ceiling, you have roughly 2 feet of clearance—workable, but tight. Measure before you mount anything overhead.
Account for Noise and Movement
Doorway bars rattle during high-rep sets. Wall-mounted and ceiling-mounted bars are silent. Power towers can shift on hard floors—put a rubber mat underneath to dampen movement and protect your flooring. If you’re in an apartment with downstairs neighbors, a wall mount is quieter than a power tower under load.
Check Bar Diameter
Standard bars are 1.25 inches (Olympic width). Some budget doorway models use 1-inch bars, which feel thinner and can increase hand fatigue during sets above 8 reps. If you have smaller hands or joint sensitivity, thinner may actually feel easier. Test grip diameter at a gym before committing if you can.
Installation Tips and Safety
For Doorway Bars
- Place protective pads on the door frame before mounting to prevent scratches
- Tighten all bolts fully—recheck after your first 5 workouts as the frame settles
- Start with slow, controlled pull ups; don’t load explosive kipping movements until you’ve confirmed the setup is solid
- Avoid doors with glass panels or visibly weak frames
For Wall-Mounted Bars
- Use a level—a tilted bar causes shoulder and wrist strain within a few sessions
- Bolt into at least 2 studs, ideally 3, for redundancy
- Use lag bolts at minimum 5/16-inch diameter, rated for 500 lbs
- Stop immediately if you hit a pipe or wire while drilling; choose a different location
- Allow 12–18 inches of clearance on either side so wide-grip reps don’t clip the wall
For Power Towers
- Place on flat concrete or hardwood—carpet lets the base shift under load
- Use a rubber mat to absorb impact and prevent sliding
- Inspect all bolts and welds before first use; apply threadlocker if the tower will be moved regularly
- Keep at least 2 feet of clearance on all sides
For Ceiling-Mounted Bars
- Set your stud finder to wood mode and locate joists before marking anything
- Drill pilot holes first to avoid splitting the joist
- Use lag bolts rated for at least 500 lbs—intact joists can handle well over 1,000 lbs, but the hardware is the weak point
- Never mount to drywall alone; it will fail under your body weight
Injury Risk and Progression
Pull ups load your shoulders, elbows, and grip hard. If you’re new to them, start with 3 sets of 3–5 reps, two or three times per week, with 48 hours between sessions. Shoulder pain that lingers more than a few days is a signal to cut volume or switch to assisted pull ups—loop a resistance band around the bar and your knees to reduce load by 20–50 lbs depending on band thickness.
Pain on the inside of the elbow signals elbow flexor overuse. Back off immediately and rest 5–7 days before returning at lower volume. Wrist pain usually traces to grip width being too narrow—try moving your hands 2–3 inches wider.
Pull ups are a cornerstone of compound exercises for full body strength, but they work best paired with rows, dips, and pressing movements for balanced shoulder development.
If you’re building out a full setup, best home gym equipment for beginners covers how to add dumbbells, bands, and a bench without overbuilding your space.
Our verdict
Start with a doorway bar ($40–70) if you rent or aren’t sure pull ups will stick. It costs little and installs in minutes. Once you’re hitting 10+ reps consistently and want to add load, upgrade to a wall-mounted bar ($150–250) bolted into studs—it’s the most stable permanent option for the price. Go with a power tower ($200–300) if you want pull ups, dips, and leg raises in one footprint. Ceiling mounts are the strongest long-term choice for a dedicated gym, but the installation is permanent, so be certain before you drill.
Frequently asked questions
Can I install a pull up bar in an apartment?
Yes, depending on the type. Doorway bars are zero-damage and work in any apartment. Wall-mounted bars leave small holes in studs and typically require landlord approval. Ceiling-mounted bars are usually off-limits because the installation is permanent. Check your lease before drilling anything.
What’s the minimum weight capacity I need?
Buy a bar rated for at least 1.5 times your body weight. At 180 lbs, that means a minimum 270-lb rating—this covers dynamic movement and future weight changes. Most quality bars are rated above 300 lbs, so capacity is rarely the limiting factor unless you’re adding a weighted vest.
How often should I replace a pull up bar?
A quality bar lasts 10+ years with normal use. Replace it if you spot rust, cracked welds, or bent metal. Doorway bars tend to wear out faster—plan on 5–7 years for lighter-duty models. Inspect mounting points every 6 months regardless of type.
Should I buy a bar with extra attachments like dip handles?
Only if dips are already in your training. Attachments add $30–50 and weight to the unit. A clean pull up bar does one thing well. Power towers bundle multiple exercises into one frame, but they cost more and take more floor space—worth it only if you’ll use every station.
What’s the difference between neutral-grip and wide-grip bars?
Neutral-grip (palms facing each other) reduces stress on the shoulder and elbow—the better starting point if you have joint sensitivity or are new to pulling movements. Wide-grip (palms facing away, hands outside shoulder width) loads the lats more directly but demands greater shoulder mobility. Most standard bars let you adjust hand position to use both grips.

Marcus is a cycling coach and hiker who plans routes down to the water stops.