This article may contain affiliate links. If you buy through them we may earn a commission at no extra cost to you.
Heavy items go low and centered against your spine. Everything else is sorted by how often you’ll reach for it. Get those two rules right and your pack stops fighting you within the first mile.
Start with the Right Backpack Size
Capacity drives everything else. Day hikes: 15–25 liters. Overnights: 40–60 liters. Multi-day expeditions: 60–80 liters or more. Too small forces overstuffing and kills weight distribution. Too large tempts you to fill dead space with gear you don’t need.
Check the hip belt fit before you pack a single item. It should sit on your hip bones—not your ribs, not your belly. Most packs adjust 2–4 inches. A correct fit transfers 60–70% of load to your hips and off your shoulders. If you’re still choosing a pack, our guide to the best backpacking backpacks for beginners covers fit and budget options.
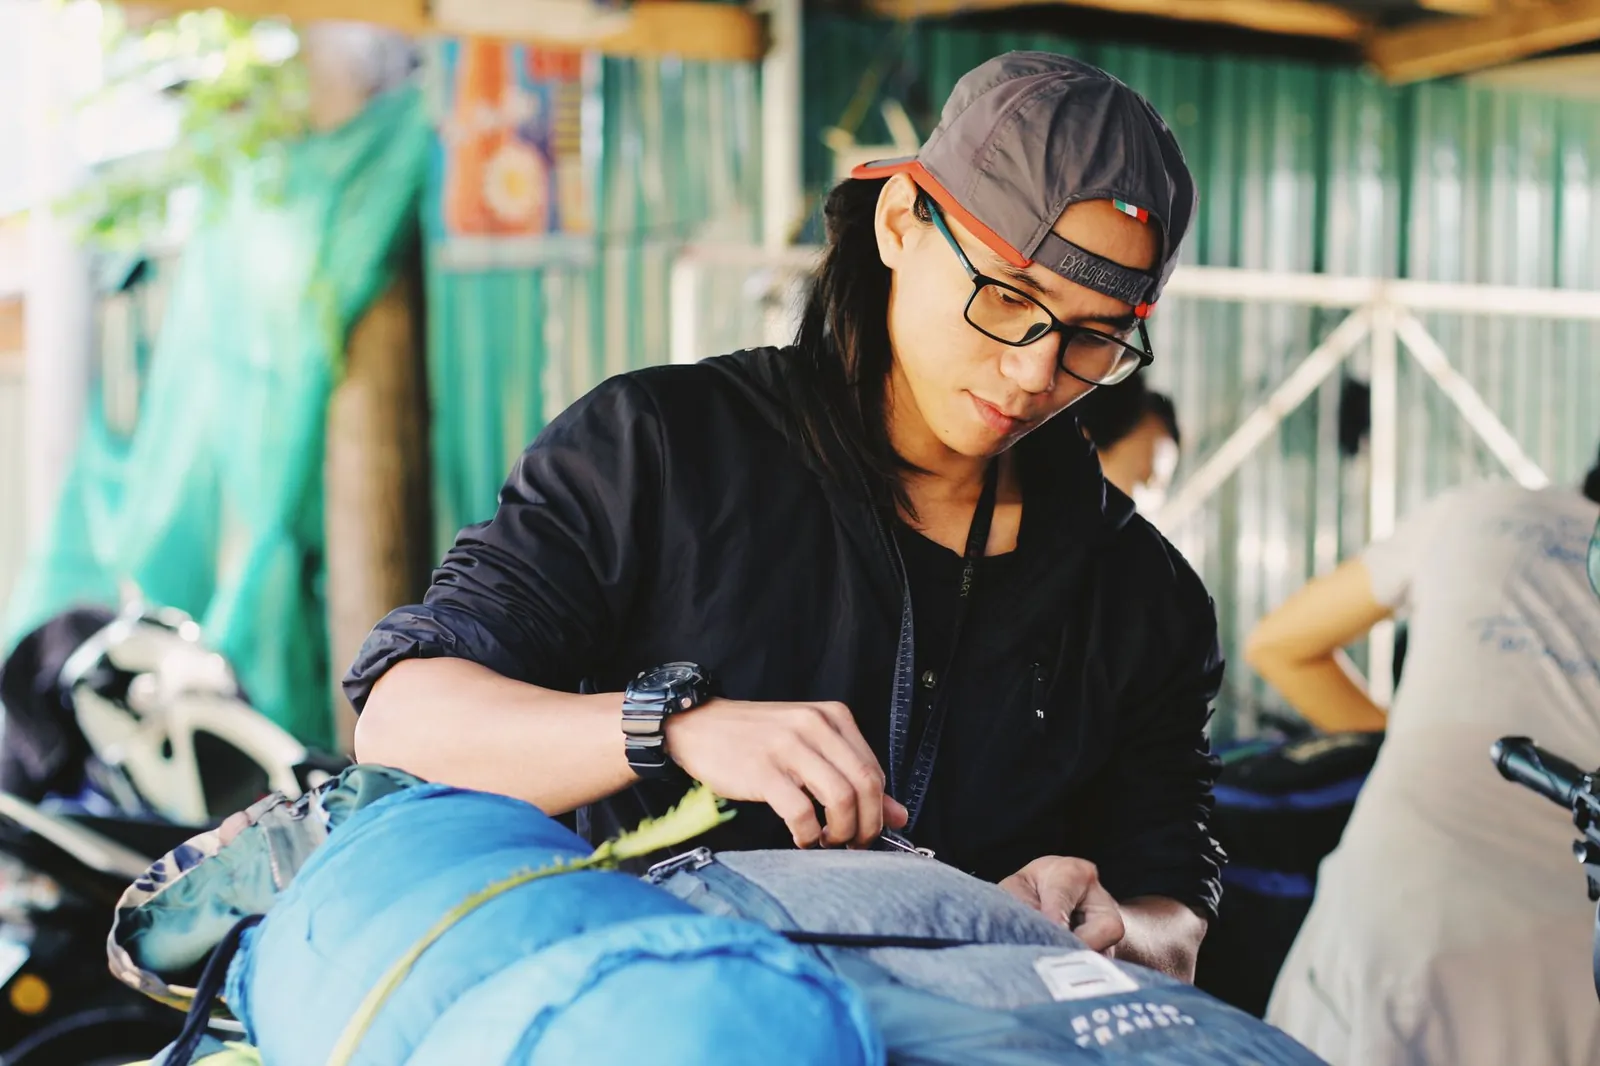
Use the Three-Zone Packing Method
Divide your pack into three vertical zones. This isn’t a suggestion—it’s the difference between a pack that feels stable at mile 10 and one that’s grinding your lower back by mile 3.
Base Zone: Heavy Items
Sleeping bag, tent body, and water (2+ liters) go at the bottom, centered and flush against your spine. These should account for 30–40% of total pack weight. Keeping them low drops your center of gravity, which matters most on climbs and uneven terrain.
Middle Zone: Moderate Weight
Food, extra layers, and cooking gear fill the middle section. Distribute weight evenly left to right—an off-center bear canister, for example, will torque your spine over a long day. Use compression straps to hold this layer tight against your back so it doesn’t shift when you scramble.
Top Zone: Light and Accessible
Rain jacket, snacks, sunscreen, headlamp. You’ll grab these without opening your main compartment, so they live on top or in exterior pockets. On total pack weight: 15–25 lbs for day hikes, 25–35 lbs for overnights. Above 35 lbs, injury risk climbs and pace drops—how much depends on your fitness and terrain, but that threshold holds for most hikers.
Sort Gear by Access Frequency
Three tiers, decided before you pack:
- Frequent: Water bottle, snacks, map, first aid kit. External pockets or the very top of your pack.
- Occasional: Extra layers, lunch, sunscreen. Middle section—reachable without emptying the pack.
- Rare: Sleeping bag, tent, spare socks. Deep in the base zone; you won’t touch them until camp.
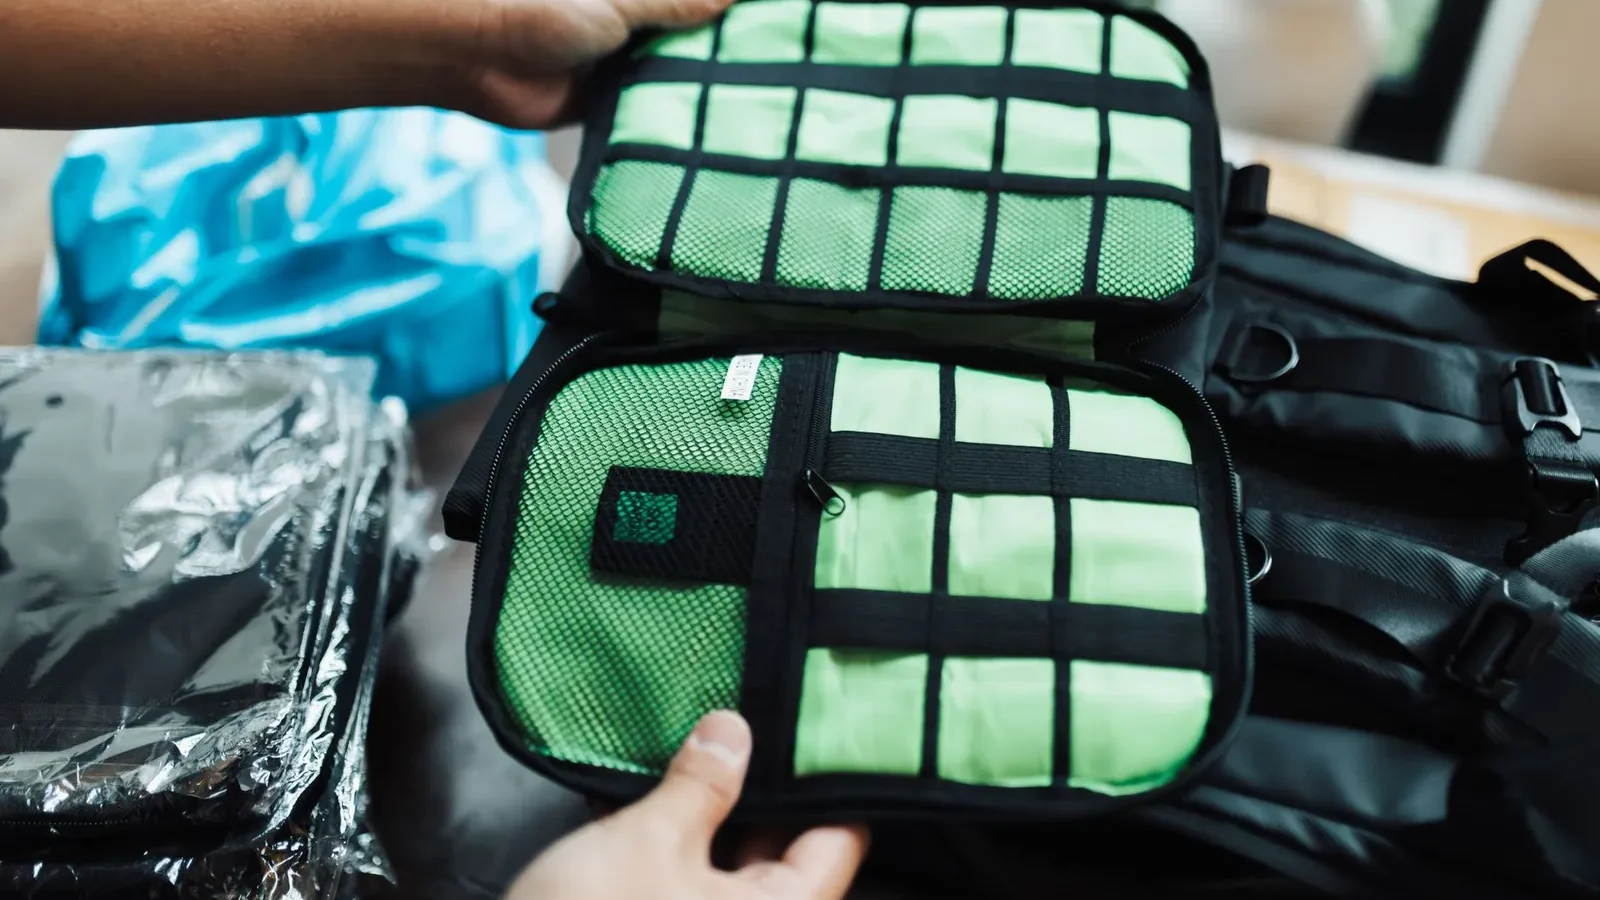
Use stuff sacks or compression bags to group similar items. A 10-liter compression sack for your sleeping bag cuts its volume roughly in half compared to loose packing and keeps moisture out if you wade a creek.
Balance Weight Side to Side
Uneven loading pulls you off-center and overloads one shoulder. If you’re carrying trekking poles, water bottles, or a camera, balance them: one on each side, or both centered. Don’t load everything into the main compartment and ignore the rest.
Front pockets, side pockets, and hip belt pockets exist for a reason. A headlamp in one hip pocket and a repair kit in the other adds symmetry and keeps essentials within arm’s reach without breaking stride.
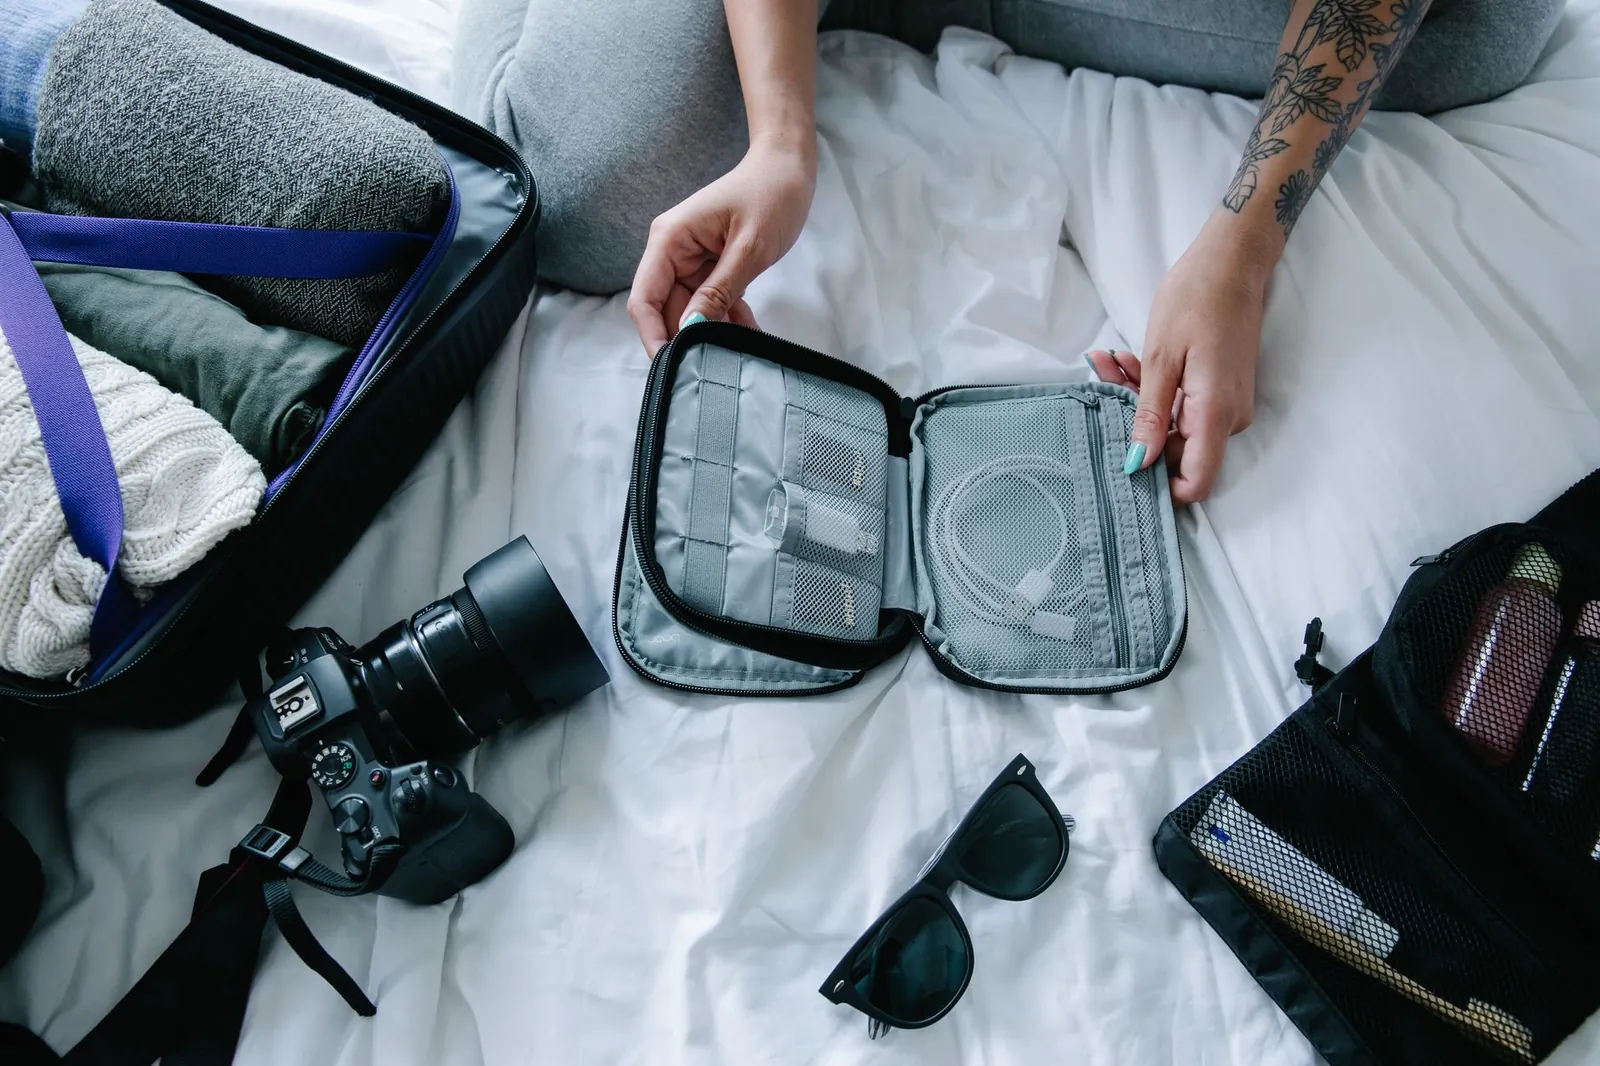
Compress and Secure the Load
Tighten compression straps after packing—they keep your load stable and prevent gear from shifting mid-descent. Then adjust the load lifter straps: the short straps connecting the top of your shoulder straps to the pack frame. They should angle at roughly 45 degrees and pull the pack’s weight close to your upper back.
Line your sleeping bag compartment with a dry bag or waterproof sack liner. A soaked sleeping bag gains 2–3 lbs and loses most of its insulation value. Stuff sacks also stop gear from migrating during a long day, which quietly drains energy as your body compensates for a shifting load.
A properly packed backpack should feel like a natural extension of your body, not a separate weight pulling away from your spine.
Adjust Straps Before You Step Off
Strap order matters. Put on the pack, then tighten in this sequence:
- Hip belt — snug on your hip bones, not cutting off circulation.
- Shoulder straps — loose enough to slip one finger underneath.
- Load lifters — 45-degree angle, pulling the pack toward your upper back.
- Sternum strap — across your chest, well below your collarbone.
Your hips carry 60–70% of the load when straps are set correctly. Shoulders aching after 15 minutes? Loosen the shoulder straps and tighten the hip belt. Lower back hurting? The pack is either too heavy or riding too loose. Dial it in on a 10-minute flat walk before you hit the trail.
Four Mistakes That Wreck a Good Pack Job
- Packing at home and not repacking at the trailhead. Gear shifts in the car. A 10-minute repack after you park fixes it.
- Strapping gear to the outside. External loads catch branches, add drag, and throw off balance. If it doesn’t fit inside, reconsider bringing it.
- Ignoring side-to-side balance on steep terrain. A 2-lb imbalance that’s tolerable on flat ground becomes punishing on a 30% grade.
- Packing gear you’ve never used on trail. If it hasn’t left the pack on three consecutive hikes, leave it home.
For a full rundown of what to bring, see our best hiking gear for beginners.
Frequently asked questions
What’s the ideal weight distribution for a hiking backpack?
Aim for 60–70% of weight on your hips via the hip belt, 20–30% on your shoulders, and the rest balanced against your back. Heavy items—sleeping bag, tent, water—go low and centered. Light items go on top. This ratio minimizes shoulder and back strain over long days.
How do I know if my backpack is too heavy?
A loaded pack should weigh no more than 20% of your body weight for day hikes. For a 150-lb hiker, that’s 30 lbs maximum. If your shoulders ache within 30 minutes, the pack is either overloaded, unbalanced, or the straps are set wrong. Test on flat ground before committing to the trail.
Should I pack my backpack tight or leave room for flexibility?
Pack snug enough that gear doesn’t shift, but leave 1–2 inches at the top for rain jacket access or items you pick up on trail. Use compression straps to hold everything in place. A loose pack wastes space and throws off your balance on technical terrain.
Where should I put my water bottle in my backpack?
Keep your main bottle in an external side pocket or a hip belt pocket—accessible without opening the pack. If you’re using a hydration bladder, thread the tube along the shoulder strap so you can drink without stopping. Either way, keep water weight centered, not hanging off one side.
Can I pack a backpack the night before a hike?
Yes, but repack after your drive to the trailhead. Gear shifts during transport. A quick 10-minute repack confirms nothing has migrated and all compression straps are still tight before you start moving.

Casey is a certified strength coach and trail runner who tests gear by breaking it.